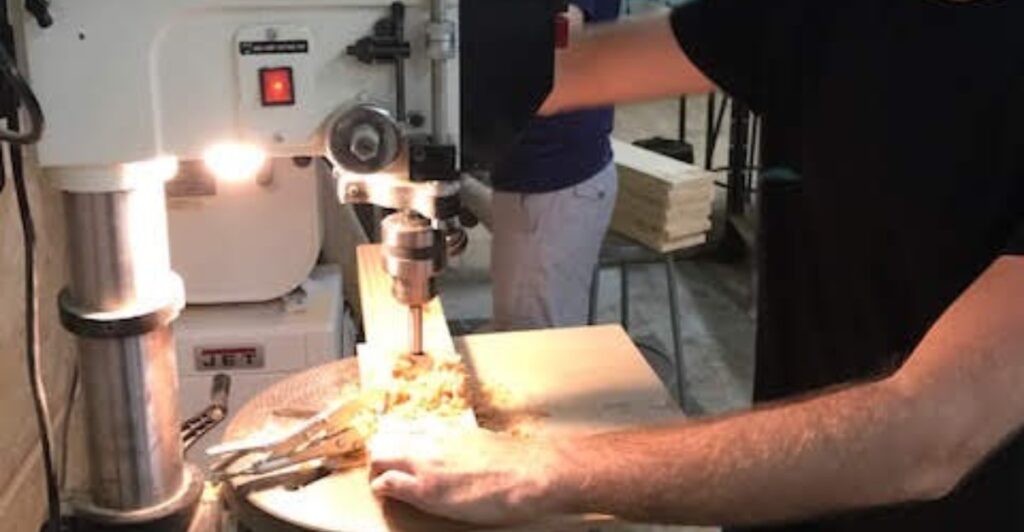
A stack of rough lumber does not look much like a kitchen centerpiece. Give it a few hours, some careful measuring, and a trip through several serious-looking machines, however, and those plain boards begin revealing stripes, grain patterns, and polished edges.
That transformation is the satisfying heart of the experience at The DIY Joint, a Union City woodworking studio located just minutes from Hoboken.
Its beginner-friendly classes replace passive demonstrations with the chance to operate real equipment, learn why every step matters, and finish a useful project with your own hands.
The cutting board class is an especially appealing introduction. It asks for no previous woodworking experience, yet the result feels far more substantial than a throwaway craft.
Students prepare lumber, assemble their designs, smooth the surfaces, and apply the finishing touches under the guidance of experienced instructors. By the end, the sawdust on your clothes feels like a small price to pay for some very convincing bragging rights.
The DIY Joint Brings Hands-On Woodworking Close to Hoboken
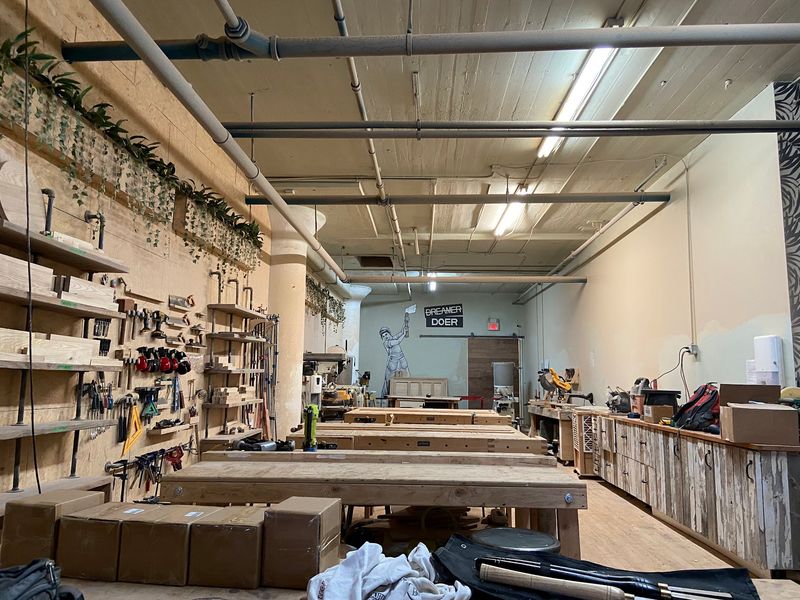
Although it is often associated with Hoboken, The DIY Joint is actually located at 600 Palisade Avenue in neighboring Union City. That distinction is worth making before anyone starts searching the Hoboken waterfront for a table saw.
The studio sits within easy reach of Hoboken, Jersey City, Weehawken, and other Hudson County communities, making it a practical destination for North Jersey residents who want to try woodworking without traveling to a rural craft school or assembling a workshop at home.
The location also solves one of the biggest problems facing would-be woodworkers in this densely populated corner of the state.
Apartment living and power tools are not always natural companions. Even if there is room to store a saw, the neighbors downstairs may have strong opinions about when it should be used.
The DIY Joint supplies the workspace, materials, and professional-grade equipment, allowing students to concentrate on learning instead of figuring out where to put a planer. Inside, the setup is closer to a working shop than a conventional classroom.
Workbenches replace desks, and tool stations give each phase of a project its own logical place. Classes are led by craftspeople with backgrounds in woodworking, furniture making, contracting, and hands-on DIY work.
Their job is not simply to produce a finished item while everyone watches. Students measure, cut, glue, sand, and finish the projects themselves, with instruction provided along the way.
That emphasis on participation gives the studio its personality. The atmosphere is social and collaborative, but the work remains real.
A visit can function as an unusual date, a group activity, or the beginning of a serious hobby. Either way, leaving with an object you made is much more satisfying than leaving with another photo of an activity you barely participated in.
A Cutting Board Class Gives Beginners an Approachable First Project
There is a reason woodworking instructors do not hand first-time students plans for an elaborate dining-room hutch. A good opening project needs to be manageable enough to finish while still teaching skills that matter, and a cutting board hits that balance beautifully.
It has a familiar shape, an obvious purpose, and enough individual character to make the result feel personal. More importantly, building one correctly involves much more than trimming a single plank and calling it dinnerware.
At The DIY Joint, beginners encounter the complete rhythm of a woodworking project without becoming buried in complicated joinery. Raw pieces must be prepared carefully, arranged into a pleasing design, joined securely, and smoothed until the surface feels ready for daily use.
Each stage offers a small, visible victory. Pieces that initially seem unrelated begin lining up into a pattern, the glued assembly takes on the proportions of a board, and sanding gradually replaces roughness with a clean finish.
That steady progress is encouraging for anyone arriving with zero shop experience. Mistakes can be corrected, questions are expected, and nobody needs to know the difference between a jointer and a planer before class begins.
The studio states that most of its workshops are designed for beginners unless a course description says otherwise, and materials are included in the class price. Some projects may offer optional upgrades, but students do not have to arrive carrying lumber or a toolbox.
The practical nature of the finished object adds another layer of satisfaction. This is not a practice rectangle destined to collect dust in a closet.
It can become a prep surface, a serving board, or the kitchen item that receives a suspiciously detailed origin story every time guests notice it. For a first attempt at woodworking, that is a remarkably good return on a few hours of concentration.
Real Lumber Becomes a One-of-a-Kind Kitchen Essential
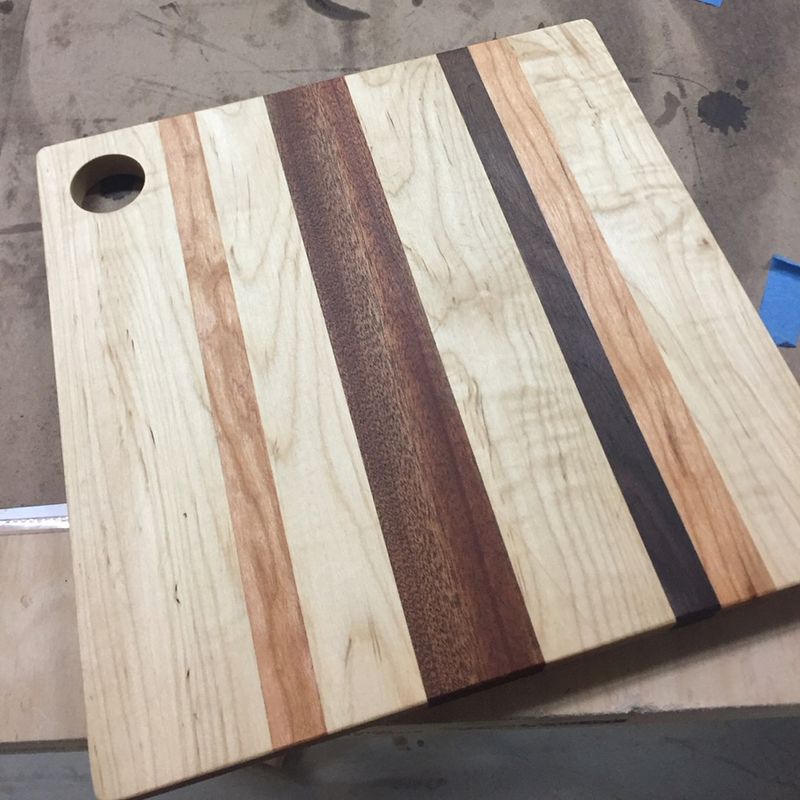
Look closely at a handmade cutting board and its personality lives in the grain. Light and dark bands can run beside one another, subtle color changes appear across the surface, and natural markings keep the finished piece from looking like something stamped out by the thousand.
Working with multiple strips or species of wood allows students to make design decisions before the glue bottle even appears. They can consider how contrasting tones fit together, which faces show the most attractive grain, and whether the final arrangement feels orderly or playfully varied.
This is where a simple household object begins feeling unmistakably handmade. Lumber is a natural material, so no two pieces behave or look exactly alike.
One strip may have straight, calm lines, while the next brings a swirling pattern that immediately draws the eye. Part of woodworking is learning to notice those differences rather than treating every board as interchangeable stock.
The cutting board project makes that lesson easy to understand because the selected faces remain visible in the finished design. Careful preparation is essential as well.
Pieces need flat surfaces and square edges if they are going to meet cleanly during assembly. Tiny inconsistencies that look harmless at the beginning can produce gaps or an uneven top later, which is why accurate milling matters.
Once the parts are prepared, adhesive and clamps hold the arrangement firmly while it cures. The board may look awkward at this stage, surrounded by hardware and streaked with excess glue, but the cleanup and sanding process reveals what has been hiding underneath.
Edges become neater, surfaces grow smoother, and the contrasting pieces finally read as one complete object. The final treatment highlights the grain while preparing the board for its intended kitchen role.
What began as ordinary lumber now has a specific pattern chosen by its maker, along with the tiny variations that prove a person—not a factory line—guided it into shape.
Patient Instructors Make Power Tools Feel Less Intimidating
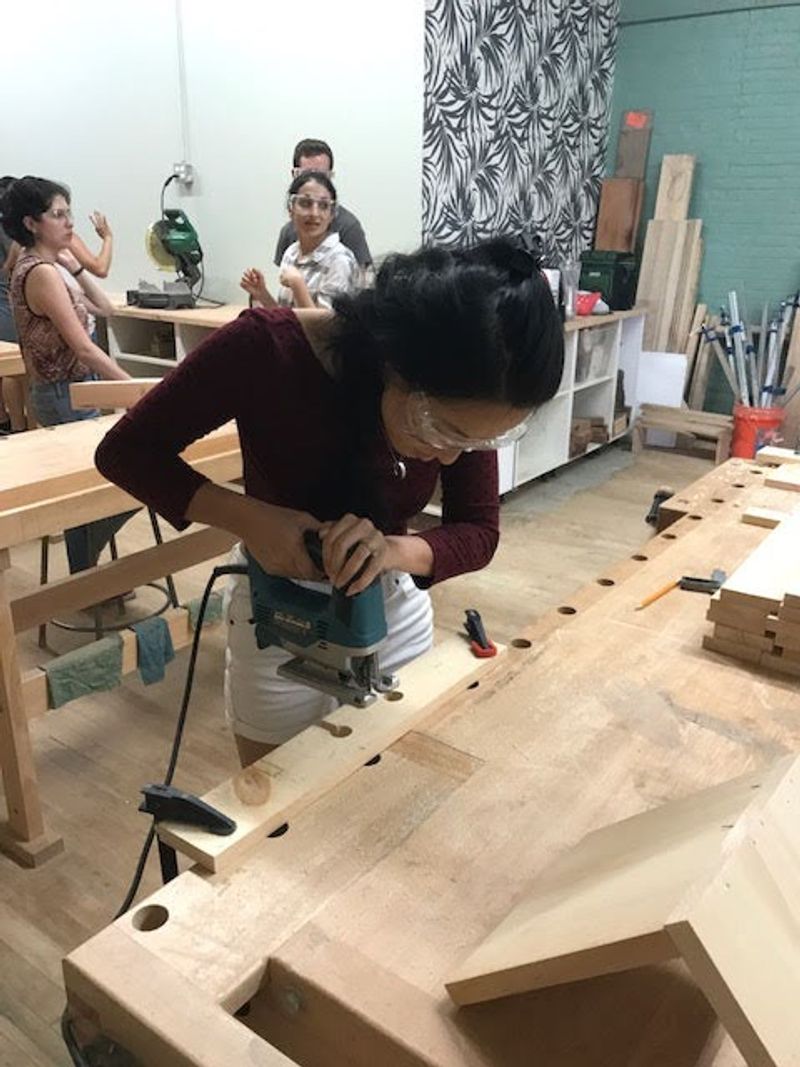
The first time a table saw comes to life, it tends to command everyone’s full attention. That is healthy.
Woodworking machinery should be respected, and beginners benefit far more from calm, precise instruction than from anyone pretending the equipment is no big deal. At The DIY Joint, students are introduced to tools as part of a controlled process.
An instructor explains what each machine does, how the material should be handled, and which safety habits must remain nonnegotiable. Only then does the tool become part of the project.
A cutting board may involve equipment such as a jointer, planer, miter saw, or table saw, depending on the class format and the preparation required. The names alone can sound like a foreign language to someone whose previous DIY experience ends with assembling flat-pack furniture.
Once demonstrated in context, however, their roles become much clearer. A jointer helps create a flat face or straight edge.
A planer brings stock to a consistent thickness. Saws cut pieces to the necessary dimensions.
Sanders remove roughness and refine the surface. Instead of memorizing definitions, students see how one operation prepares the material for the next.
Good instruction also includes the small corrections that are difficult to pick up from a video. An experienced teacher can notice an uncertain grip, an awkward stance, or a board being positioned incorrectly before it becomes a frustrating mistake.
That immediate feedback builds confidence without encouraging carelessness. Students still perform the work, but they are not left alone to guess their way through unfamiliar equipment.
The result is a productive middle ground between watching someone else build the project and attempting it unsupervised in a garage.
By the time the machinery quiets down, those once-intimidating names have become understandable tools with specific jobs—and the beginner operating them has a considerably better idea of what real shop safety looks like.
Every Step From Milling to Finishing Builds Practical Skills
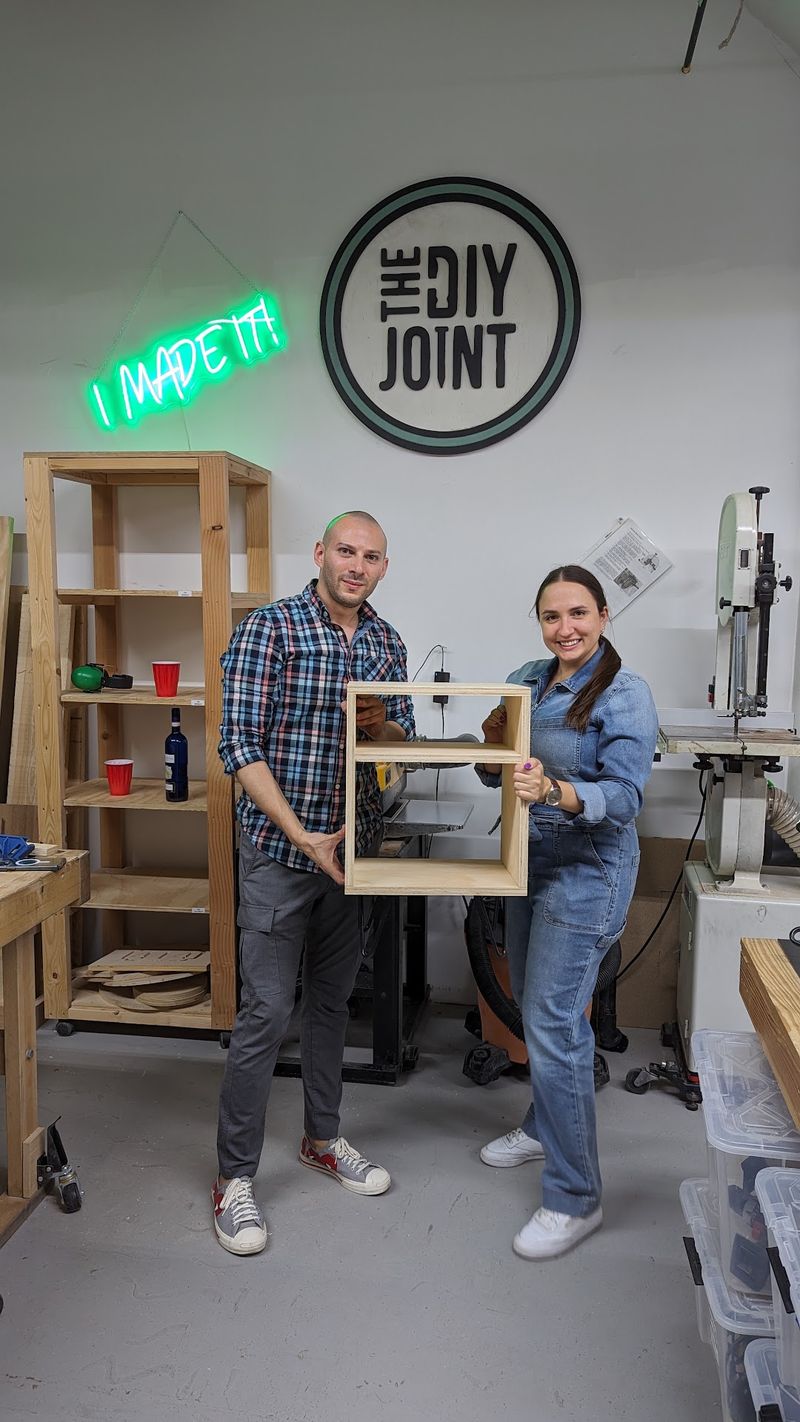
Before the attractive grain patterns and silky surface, there is the less glamorous business of getting the wood straight, flat, and consistent. Milling is the foundation of the cutting board project, and it quietly teaches one of woodworking’s most valuable lessons: careful preparation saves trouble later.
Rough or uneven stock cannot simply be forced into a precise finished object. It must be inspected, measured, and worked into usable pieces before assembly begins.
That process encourages students to slow down and understand the material in front of them. Once the lumber is properly prepared, layout takes over.
The pieces are arranged, adjusted, and checked before adhesive is applied. This is the moment to catch an unattractive combination or a strip facing the wrong direction, because glue has a habit of making last-minute indecision inconvenient.
During the glue-up, students learn how clamps distribute pressure and why alignment matters across the entire board. Too little pressure can leave weak joints; careless positioning can create extra work when it is time to flatten the surface.
After the adhesive cures, trimming and sanding bring the project closer to its final form. Sanding is repetitive, but it offers immediate feedback.
Scratches fade, hard corners soften, and each pass makes the surface more pleasant to touch. It also rewards patience.
Rushing through the grit sequence or skipping stubborn areas becomes obvious once the finish is applied. The final treatment is not merely cosmetic.
A cutting board needs a food-appropriate finish suited to regular kitchen use, and students learn that completing a project means considering how it will function after it leaves the bench. Taken together, these steps create a compact education in planning, accuracy, tool use, assembly, and surface preparation.
The techniques can later transfer to shelves, trays, tabletops, and other household builds. Even students who never pursue a larger project leave with a sharper appreciation for why well-made wooden objects require more thought than their simple shapes suggest.
More Classes and Open Studio Time Keep the Creativity Going
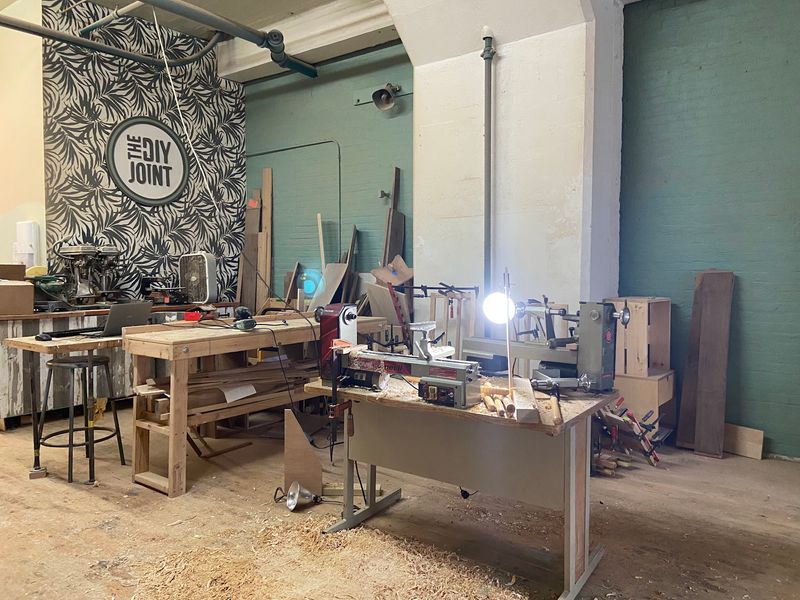
One completed cutting board has a funny way of changing how a person looks at furniture. Suddenly, that side table seems less like a fixed object and more like a series of pieces someone measured, joined, and finished.
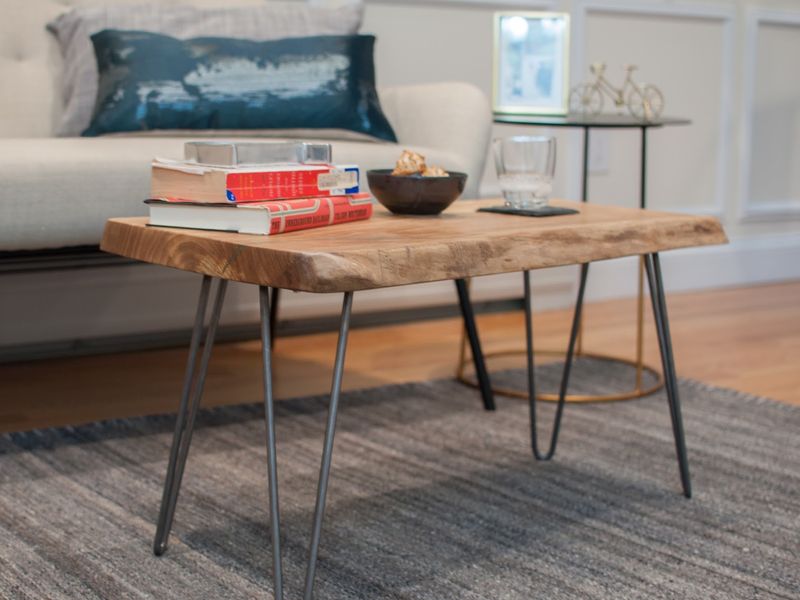
The DIY Joint gives newly curious makers several ways to follow that thought. Its broader class lineup has included projects such as serving trays, shelves, side tables, live-edge pieces, utensils, and furniture, with schedules and specific offerings changing over time.
Private instruction, children’s programs, and group events extend the format beyond standard adult classes, while sip-and-create sessions add a relaxed social angle to selected projects.
For students who want more independence, the open studio program provides access to workspace and equipment after the required training has been completed.
Admission is not automatic after one beginner workshop. The studio’s stated path requires successful completion of its Intro to Furniture Making course followed by an Open Studio Certification workshop.
Prospective members must demonstrate adequate skill, experience, and comfort with the equipment before being approved. That requirement keeps the shared environment safer and ensures that independent users understand how the shop functions.
Open studio materials are not included, although the business offers wood delivery and storage options that can make larger personal projects easier to manage. The model is particularly useful in Hudson County, where finding room for a workbench—never mind a collection of large machines—can be unrealistic.
Makers can develop their abilities in a properly equipped setting and work around others who understand why getting one stubborn joint to fit can consume an entire afternoon. Not every cutting board student will become a furniture builder, of course.
Some will be perfectly content to take home one handsome kitchen piece and a new respect for craftsmanship. Others will leave noticing empty corners that could use a handmade table, and that is often how a harmless afternoon class turns into a lasting creative habit.
Share this story